My Blog = My Life: recipes
Raspberry Peach Crumble

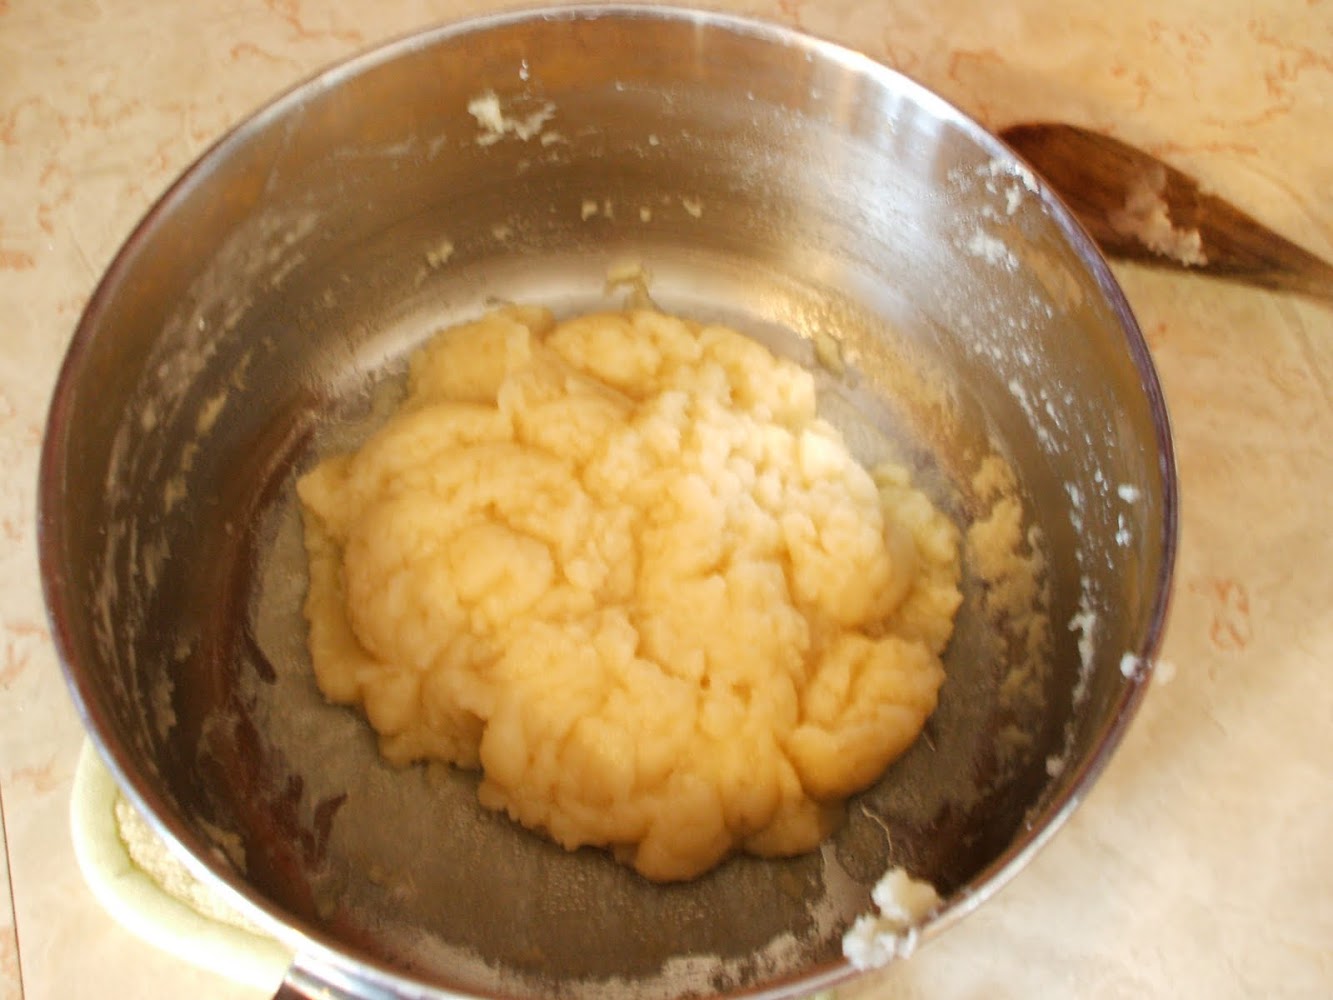
Cream Puffs
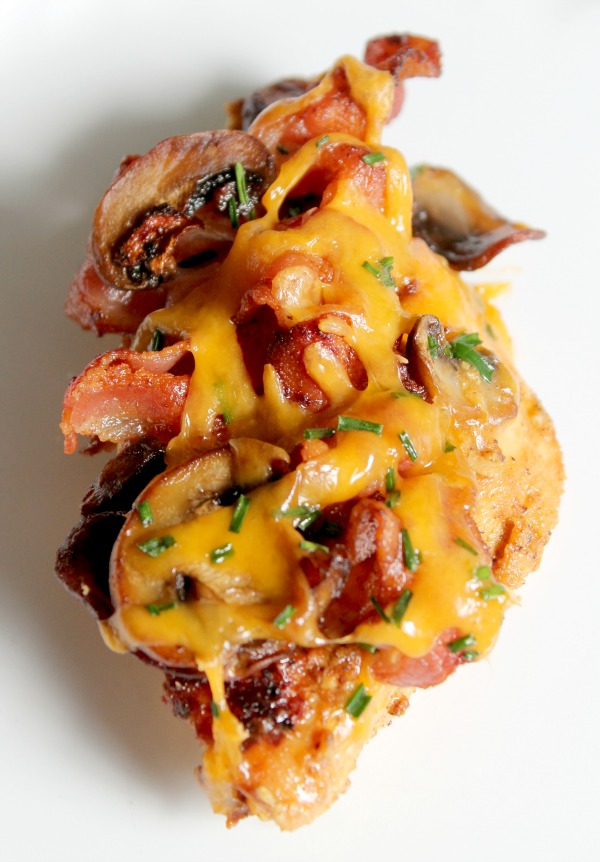
Bacon-Cheese Topped Chicken
Monkey Bread

10 Healthy Snacks Children Love

Tuxedo Cream Dessert (with GF variation)

Gluten Free Cinnamon Raisin Muffins

Guilt-Free Peppermint Patties

Raspberry Oatmeal Bars

Strawberry Spinach Salad

Cinnamon Raisin Bread

