My Blog = My Life: fresh
DIY Herbal Air Fresheners

Blogging on Vacation

Raspberry Peach Crumble

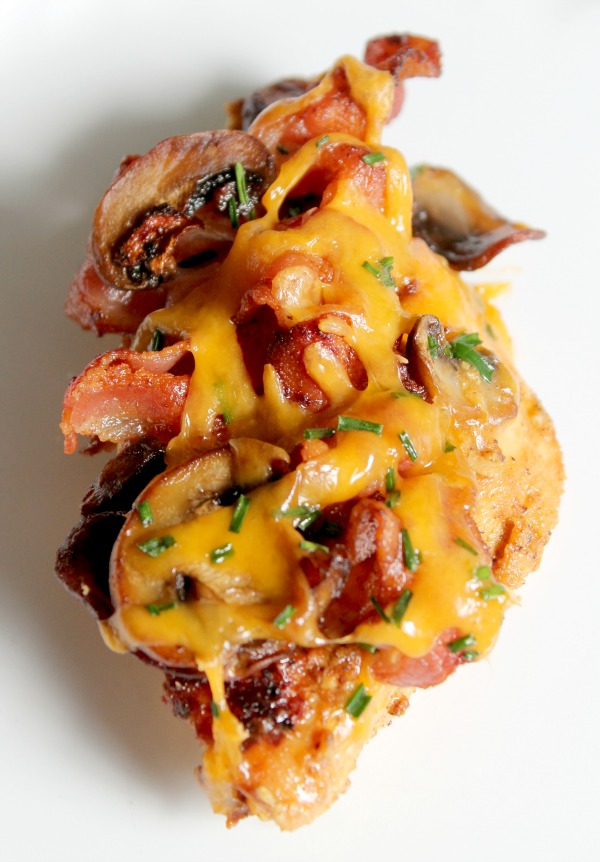
Bacon-Cheese Topped Chicken
How To Make Your Own Lavender Oil Infusion

How A Single Income Family Can Afford A Whole-Food Diet
Tuxedo Cream Dessert (with GF variation)

Strawberry Spinach Salad

Teaching Children to Memorize Scripture Part 2 | How We Do It In Our Home
REVIEW: Mercury Cafe and Grill
How to come up with fresh content every day

NEWS: More on Tangerine
5 Favorite Trim Healthy Mama Recipes

NEWS: Tangerine, Opening Soon
Broccoli Salad

Homeschooling Day By Day

Mantelscape HELP Needed SOS!

Spinach Bacon Breakfast Bake

Sunday Favorites A Little Shopping Adventure

REVIEW: Sake Japanese

