Peanut Butter Chocolate Cheesecake {GF}

5 Favorite Trim Healthy Mama Recipes

Tuxedo Cream Dessert (with GF variation)

Chunky Cream Pops {Gluten-Free}

How To Make Gluten-Free "Cream Of ____" Soups

Peanut Cream Cheese Square {Gluten-Free}

Recipes

Gardener's Hand Cream Recipe

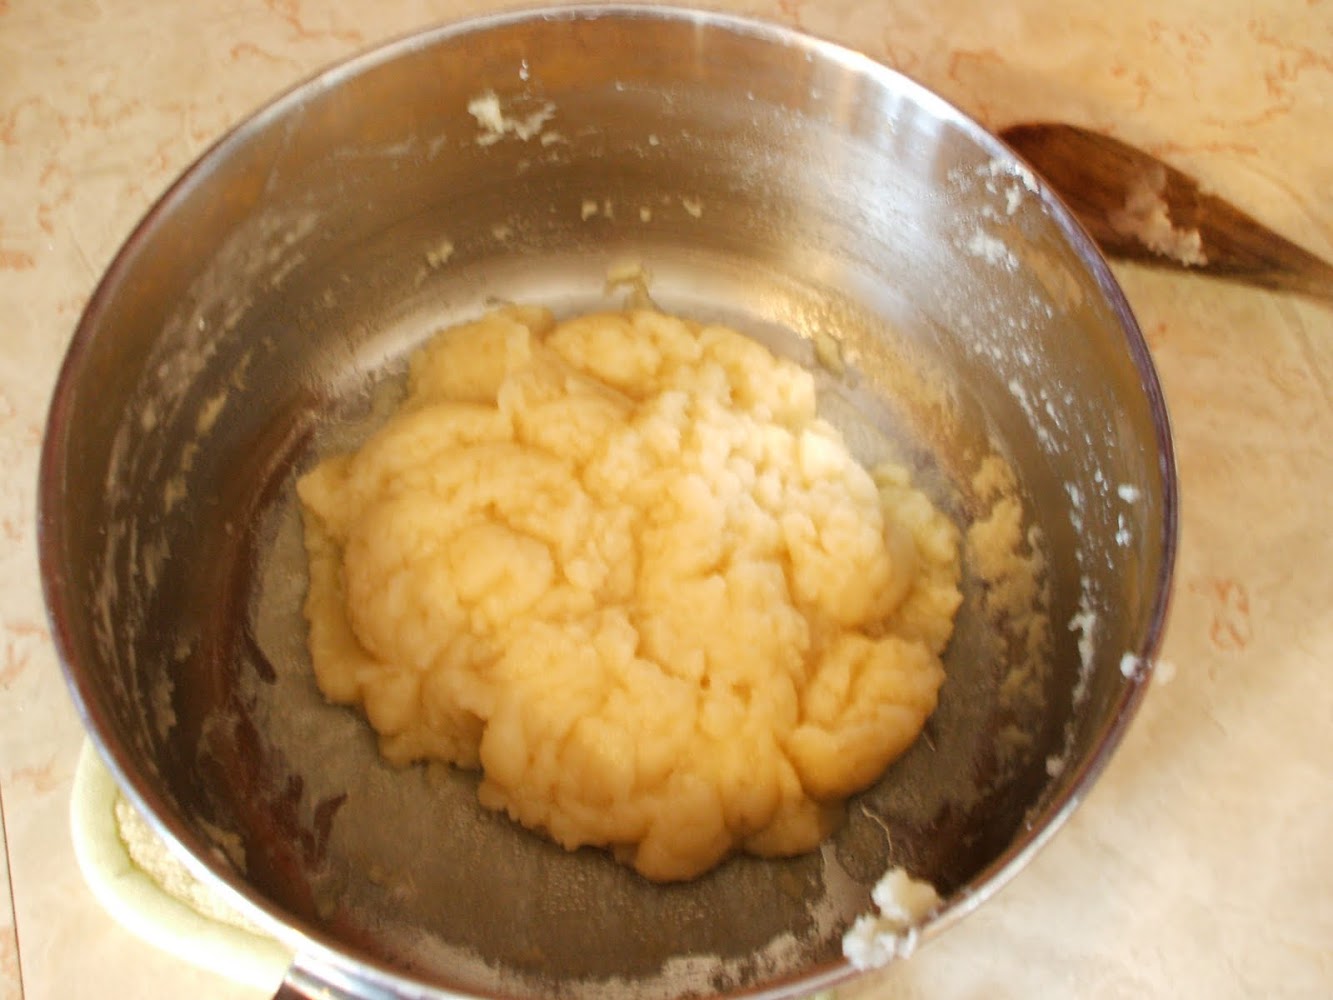
Cream Puffs
REVIEW: Hanabi Japanese Sushi Restaurant
Desserts

Beautiful Beet Soup

Cheeseburger Pie {Gluten-Free}

Tomato Spice Soup

REVIEW: Sake Japanese
Taco Salad

Soups

Linguine with Garlic Sauce | A New Favorite!

Homemaking

Pumpkin Sheet Cake


